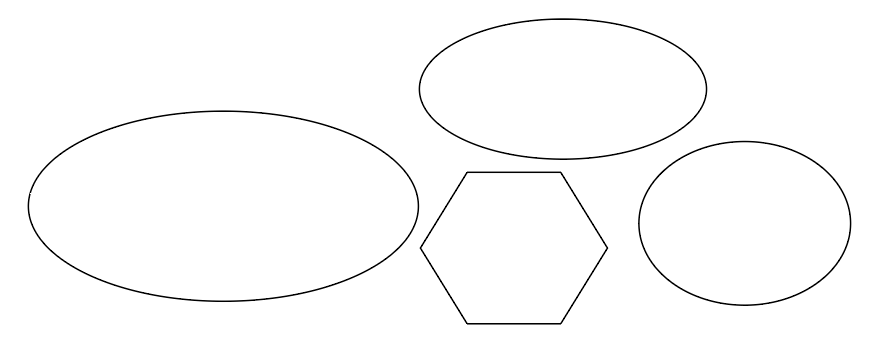
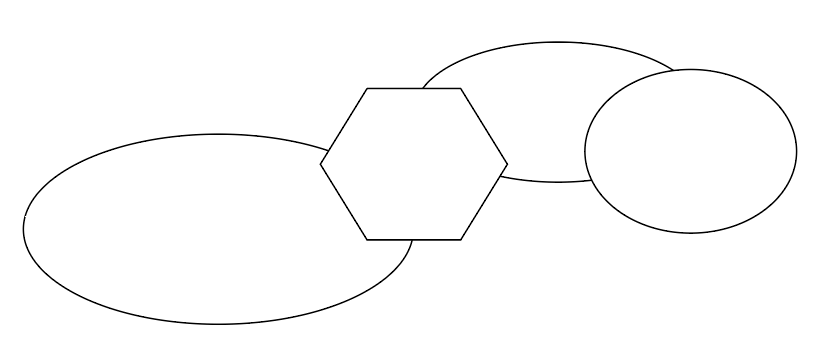
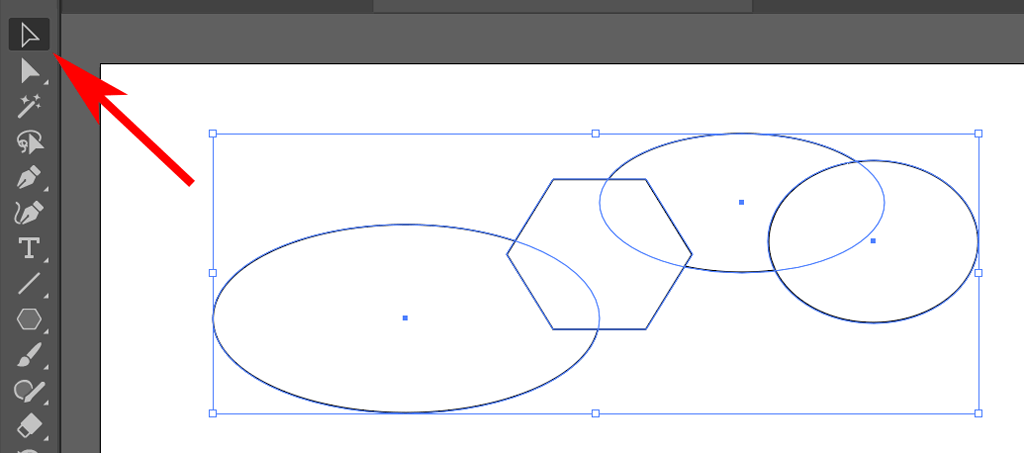
The Shape Builder tool was added to Illustrator in version CS5, and all versions since then have included it. We used Adobe Illustrator CC, but as long as you’re using Illustrator CS5 or later, these instructions should work.
How to Merge Shapes With the Shape Builder Tool
We’ll start by merging vector shapes. All of the shape tools in Illustrator create vector shapes. That means they can be scaled to any size.
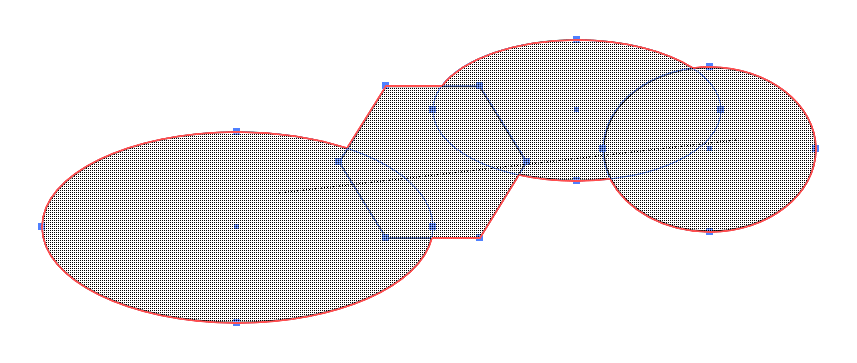
TIP: To avoid inadvertently missing some overlapping areas of multiple shapes, press Shift while you drag the Shape Builder marquee around all the shapes you want to merge.
How to Erase Shapes with the Shape Builder Tool
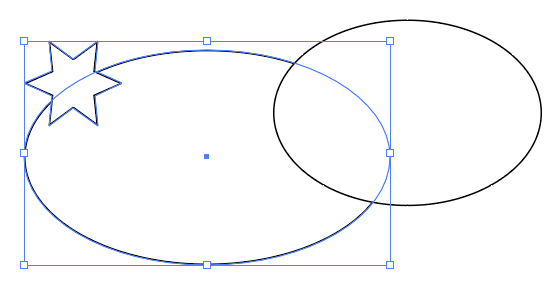
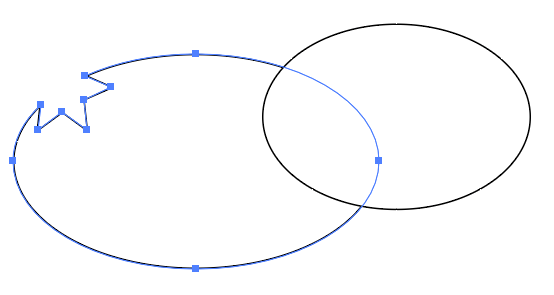
Sometimes a graphic design project will require you to subtract one shape from another. Shape Builder has an Erase mode that makes it easy. TIP: Notice that additional anchor points are added to your new shape where the two shapes used to intersect. If you like, you can use those anchor points to reshape the path. If you’ve ever used Illustrator’s Pathfinder tool to create complex shapes, you’ll love how much faster and easier it is to use the Shape Builder tool instead.
How to Set Shape Builder Tool Options
Now that you have a good idea of how the Shape Builder tool works in Adobe Illustrator, take a minute to learn about the options you can customize.
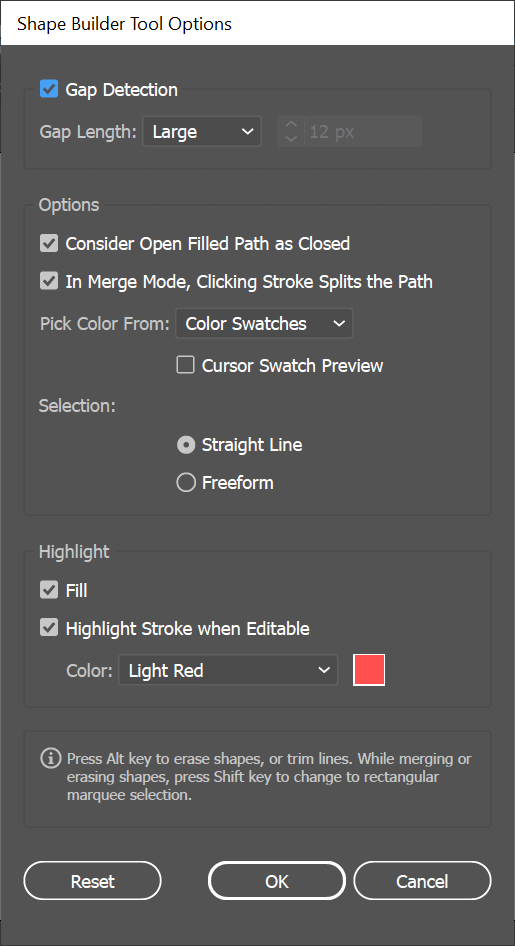
Access the Shape Builder Tool options by double-clicking on Shape Builder in the toolbar.
Gap Detection
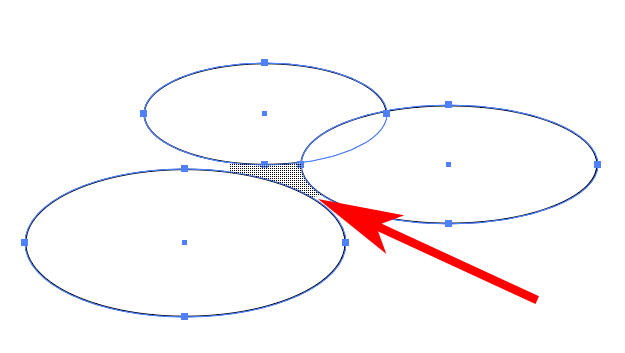
Imagine you have three overlapping ellipses with a gap in the middle. Turning on Gap Detection in Shape Builder Options allows you to tell Shape Builder to include that gap region when merging shapes. It may take trial and error to set the gap length correctly, so the Shape Builder includes as much of the gap as you want.
Consider Open Filled Paths as Closed
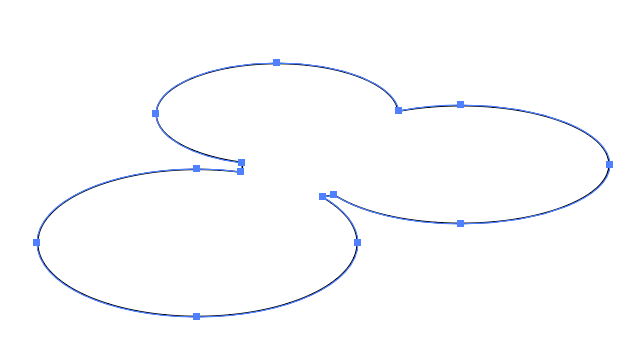
If you’ve used the Pen tool to create an open path and you check the Consider Open Filled Paths as Closed box in the Shape Builder options, Shape Builder will create an invisible edge where the path is open so it’s able to make a region.
In Merge Mode, Clicking the Stroke Splits the Path
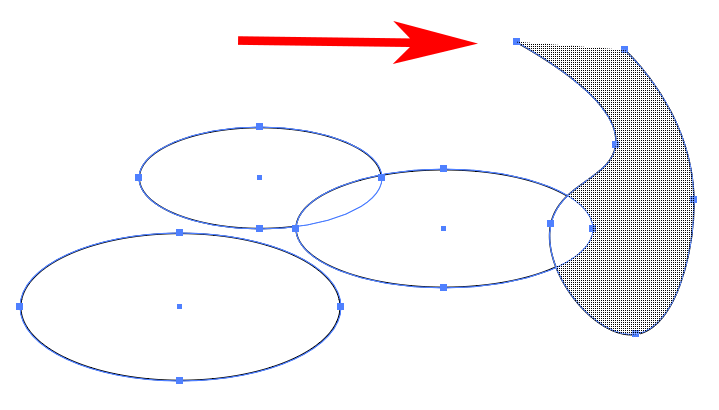
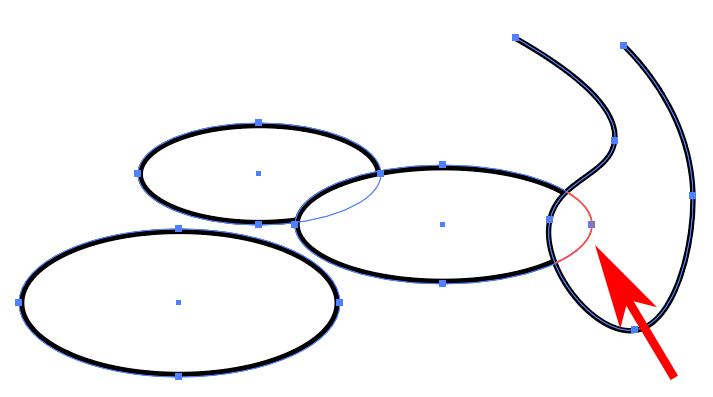
If the In Merge Mode, Clicking the Stroke Splits the Path box is checked, you can select a portion of a path.
Pick Color From
This is where you choose how the newly-created shape will be colored.
Select Artwork if you want the new shape’s styling to be the same as the first object you touch with the Shape Builder tool. Select Color Swatches if you want to fill the new shape with the swatch from the last object that was selected.
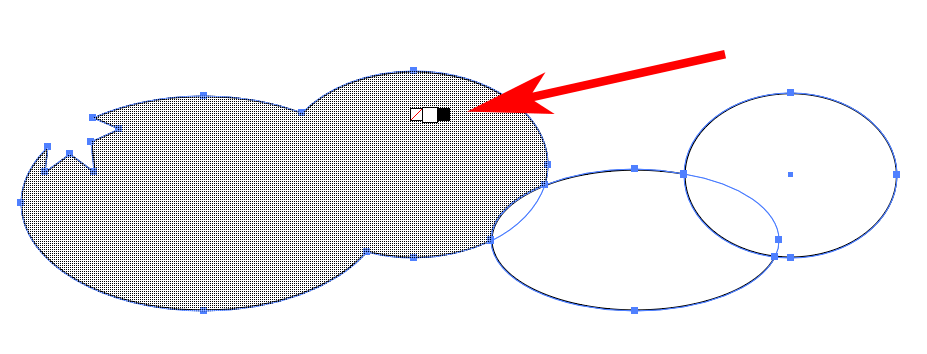
Checking the box for Cursor Swatch Preview will bring up a floating color picker. Use the left and right arrows to cycle through the options.
Selection
The Selection option you choose determines how the Shape Builder selection will behave as you drag it across objects. If you choose Freeform, you’ll be able to move around options and regions you don’t want to include.
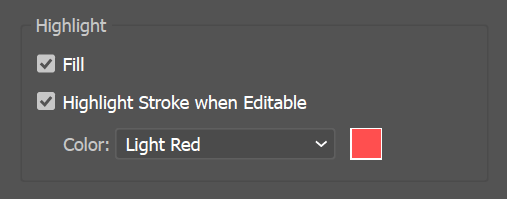
Highlight
The Highlight option helps you see what you’ve selected with the Shape Builder tool. The Fill option will cause Shape Builder to fill the regions you’ve dragged across with a mesh pattern. You can see the mesh pattern in the screenshots above. If Highlight Stroke when Editable is checked, parts of a path that can be edited will be stroked in the color selected. You must also have In Merge Mode, Clicking Stroke Splits the Path selected above. Otherwise, the path segments won’t be editable, and, therefore, won’t be highlighted.
Keep At It
Once you become familiar with Adobe Illustrator’s Shape Builder tool, you might want to try your hand at 3D modeling. It works in much the same way—by adding and subtracting shapes. The only difference is that in Illustrator, you’re working with two-dimensional shapes, and, by definition, 3D modeling means working with three-dimensional objects.
